Showing posts with label Crafting. Show all posts

Sunday, November 6, 2011

My Fall Leaf Project

I saw this posted on my pinterest page a few months ago and have wanted to do it ever since.  Of course anything I copy comes out......well.... different, lol.
Pinned Image
THEIRS
MINE
Well...what better place to do a leaf project then in Ohio with my sister-in-law Andrea.  First I had to convince her it would be a fun craft.......she caught on right away, lol.  (Of course she loves fall, loves leaves, and loves crafting, so I did have an unfair advantage.  :)    )

So first things first Step 1:  Drive to Pat Catans to find something glass to put our leaves on.  Step 2:  Drive around to different parks gathering leaves, take them from random strangers yards, or from the trees at the school.  Step 3:  Press the leaves for at minimum of 36 hours.  (If you are as excited as we were to do this project it will be a very long 36 hours. lol)  Step 4:  Focus on a craft project longer then 5 minutes so we can actually get it completed, lol.

So Step 1:  Check 

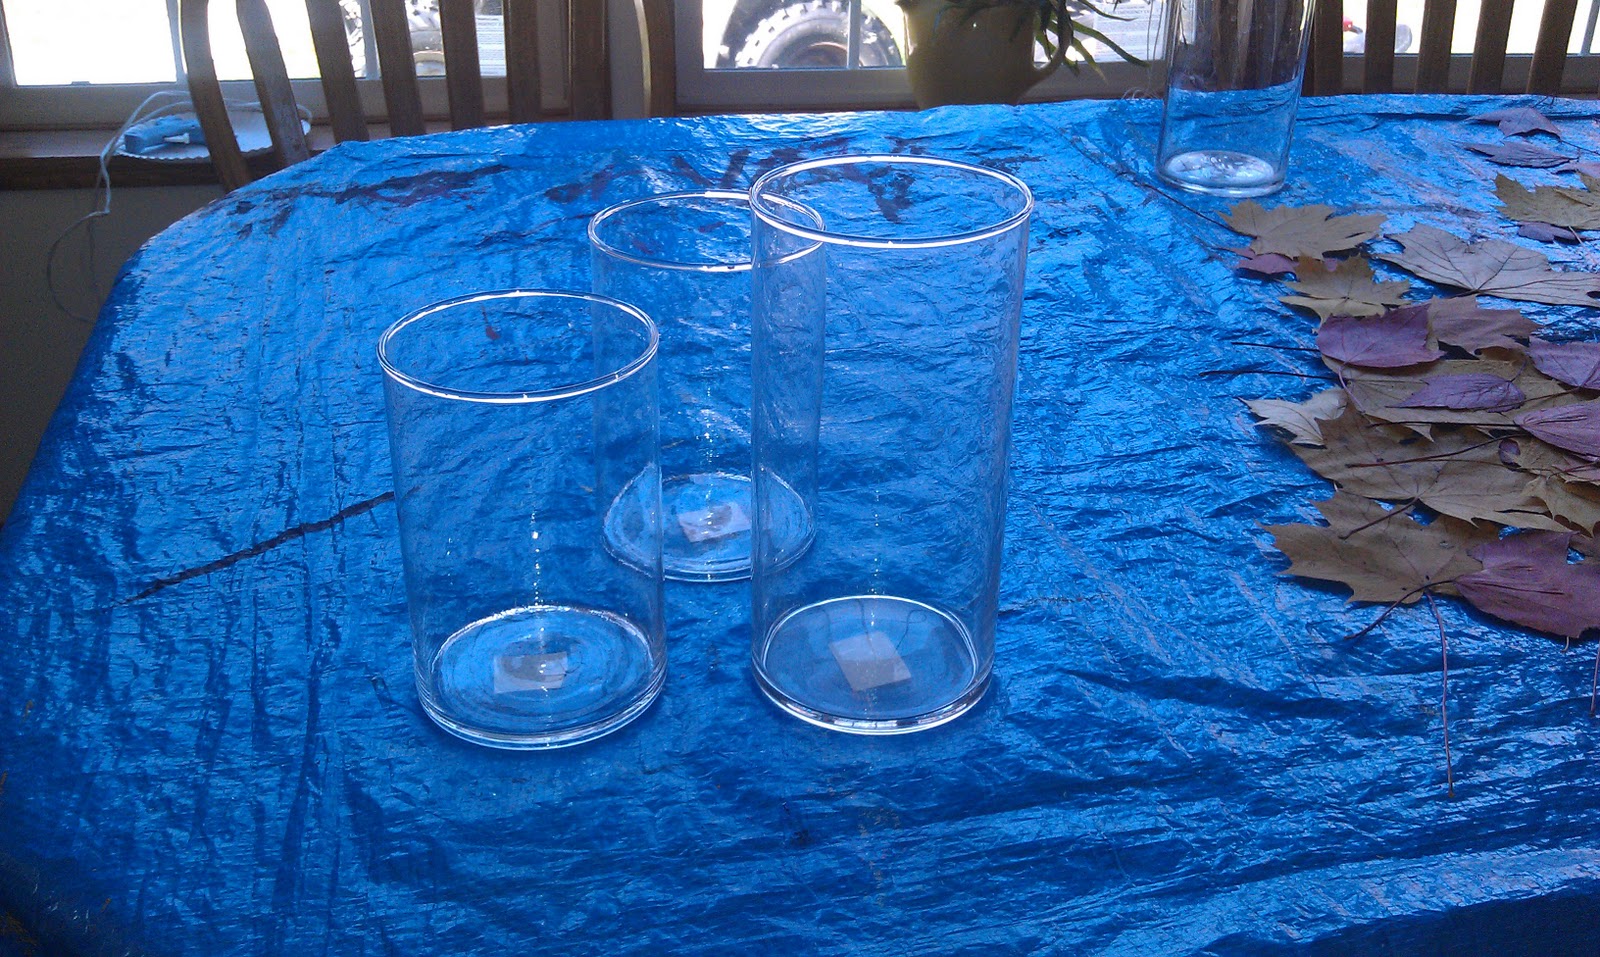
Step 2: Check, (oh ya, and maybe at a cemetery that had some with good color.)
Step 3: Check


Step 4:  Well that one was a little bit harder to pull off, but we were finally able to focus long enough to do it.  We painted mod podge onto a leaf, put it on the glass (I used a blow dryer to help lay it down and speed up the adhesion process)  repeat until the desired end result is finished, as long as the leaf is covered in mod podge you can layer them on top of each other.  Then apply a coat of mod podge over the entire jar. (We used gloss, watered down to achieve a more clear and even finish.)  It is more time consuming then we first thought it would be, so plan for that.  We are also thinking it needs.....GLITTER SPRAY, that will happen tomorrow, 'cause we have to go buy it.

 Aren't they amazing?  I absolutely love them.  The tallest one is Andrea's, I love how she was able to space them out and leave more "white" space.  


I also love the ring of leaves around the bottom we got from a Burning Bush.


They turned out so good we are going to make another Pat Catan run for a few more smaller ones for Andrea to put on her mantle.  If I didn't have to fly these things home I soooooo would make more of them.  


I am going to work on painting a small block with a cute vinyl saying on it for one of the short ones, to make it just taller then the medium size one.  I LOVE IT.


Wednesday, October 19, 2011

Doilie Envelopes??? I love it.

I saw this on-line and absolutely love the idea.  I make a lot of cards and how perfect would it be to send out bridal shower invites wrapped in a doilie envelope.  I LOVE IT!!  Can't wait to try it.


Step by step guide to doily invite

Here is a step by step guide to making the invite with suggested dimensions:

a) Select a doily that can fully cover your old cardstock when folded on 4 sides. I used found cardstock, which is really just an old library card measuring 4 and 7/8" by 3" (124 by 77mm) and a doily 7" (178mm) in diameter. I love it that old paper stock usually comes in round imperial measurements.

b) Fold in the flaps by the sides first, followed by the flap below.

c) Fold down the top flap and seal it with a kiss. In this case, I used Herma Self-adhesive label No. 2213, 8mm in diameter.

d) Turn card over and addess with another adhesive label. I typed guest names on Herma adhesive label No. 2253, 19mm in diameter. I could use a round label as guests to this party did not have long names.

Play around with sizes and textures. Cardstock with colour works better than white ones as the contrast enhances the pattern of the doily

Friday, August 19, 2011

Cute wall hanging for my niece.

So this is what we (my sister, Keri, and friend, Paula, spent the day doing. (Keri thought it would just take a couple of hours to get done. Ha ha ha, I laugh at her, she has crafted with me before and yet still has an innocence about crafting with me........)


It started with this
I had Keri cut out tag shapes......seemed simple enough. Then I started thinking about it........"and then we should"......"this would look super cute"........"I think I have here"........"oh, oh, oh, wait, wait I think I".........."it needs bling".........."grab those stamps"......."where's my distress powder"......"where is the distress sponge"....."grab the mat"......"oh wait, wait, let's do this"......."AAAAAAAhh, why would you use that stamp?"......."give me that"........."let's do this, and this"..........."need ink pad"........"where's my Tim Holtz"...... Well I think you get the general idea.

(I laugh at myself and the poor unfortunate soul(s) who craft with me while my mind creates. I speak in short hand and expect them to follow along.)

Well soon enough my scrap room looked like this: (This is after Paula cleaned up and put most of the stamps back in there place. :)

However, they were well worth it. They turned out cute, and I think my niece will love it!!